

Jkprostickers
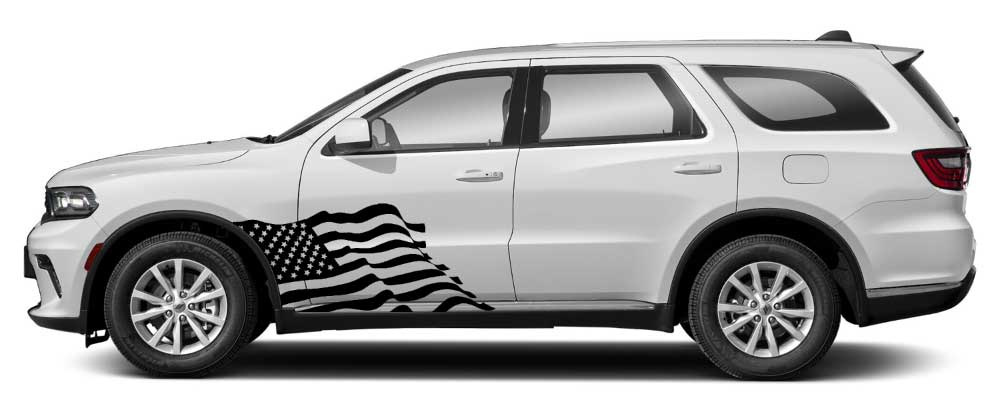
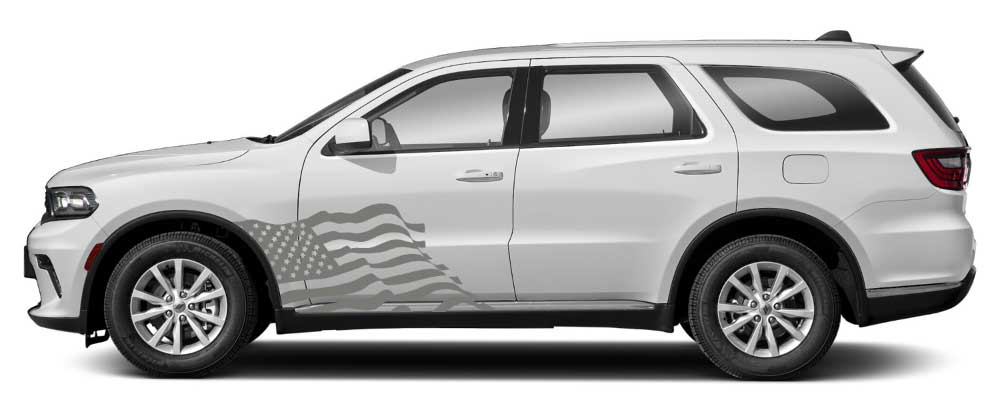
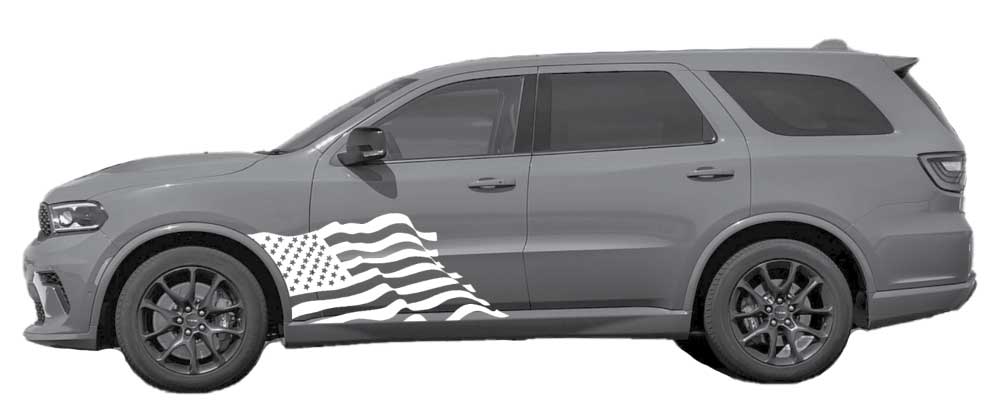
USA Flag Front Door Decals Vinyl Graphics Kit for Dodge Durango (3rd Gen)
For custom colors, custom designs, or if you don’t see your vehicle model, please use the Contact Us option in the menu and tell us your vehicle, preferred color, and design requirements.
Choose options
For custom colors, custom designs, or if you don’t see your vehicle model, please use the Contact Us option in the menu and tell us your vehicle, preferred color, and design requirements.
For custom colors, custom designs, or if you don’t see your vehicle model, please use the Contact Us option in the menu and tell us your vehicle, preferred color, and design requirements.
Description
USA Flag Front Door Decals Vinyl Graphics Kit for Dodge Durango (3rd Gen) adds a bold patriotic touch to your Durango with a clean, flowing flag layout designed specifically for the front door section. Featuring crisp stars and smooth wavy stripes, this graphic gives your SUV a powerful custom look without overpowering the entire side profile perfect for daily driving, show builds, and off road styling.
Graphics Kit Includes:
- Left & right USA flag front door decals (driver + passenger)
- Stars field with flowing wavy stripes design
- Precision cut for a clean, paint like finish
- Multiple color options available to match your Durango
- Made to fit the front lower door area for an aggressive side accent
Installation Method:
Wet installation recommended for best alignment and a smooth, bubble free finish. Made with premium automotive grade vinyl that holds up against weather, road grime, and regular washing. Fade resistant with a 5 year vinyl durability under normal driving conditions.
Fitment:
Compatible with Dodge Durango 3rd Generation models from 2011, 2012, 2013, 2014, 2015, 2016, 2017, 2018, 2019, 2020, 2021, 2022, 2023, 2024, and 2025.
🚚 Free Shipping
All products ship absolutely free, with no hidden fees or purchase minimums. This is just one of the ways we help you save. We use USPS and UPS courier for fast and reliable deliveries to the United States and Canada
Precision Fit: Our decals, stripes, and graphic kits are engineered for an exact fit and superior finish. Each design is tailored to its intended placement, ensuring the visual flow follows factory body lines correctly. We sell only what we personally install so fitment is proven, not assumed.
Exclusive Designs: We create and offer original decal designs available only through us. Every vinyl graphics kit is custom cut per order, ensuring freshness, accuracy, and no mass stocked inventory.
Continuously Evolving: Our product lineup is constantly refined and expanded. If you don’t see a design that matches your vision, contact us custom solutions are always welcome.
Installer Friendly: While professional installation is recommended for complex kits, all of our products are designed with the installer in mind, making application as straightforward and stress free as possible.
At dealership parts departments, graphics kits often cost between $600-$900, come in limited color options, and offer no customization. We deliver factory quality premium vinyl graphics at highly competitive prices giving you full control to personalize your decals with your choice of colors or color combinations from our extensive selection.
Vinyl Decal Installation Guide (Wet Method)
Our decals are precision cut for an exact fit. For best results, we recommend
the wet installation method, which allows easy positioning
and bubble free application.
Tools Required
- Spray bottle (water)
- Plastic squeegee (felt edge recommended)
- Masking tape
- Microfiber towel
- Isopropyl alcohol (70% or higher)
- Sharp blade or utility knife
Step 1: Surface Preparation
Wash the application area thoroughly with soap and water. Dry completely.
Clean the surface using isopropyl alcohol to remove wax, grease, or residue.
The surface must be clean, smooth, and cool to the touch.
Step 2: Test Fit & Positioning
Without removing the backing paper, place the decal on the vehicle to check
alignment. Use masking tape to hold it in position and create reference points.
Step 3: Prepare the Wet Solution
Fill a spray bottle with clean water.
Step 4: Apply the Decal
Peel the backing paper off the decal slowly. Lightly spray the adhesive side
of the decal and the vehicle surface. Place the decal onto the vehicle; it
will slide for easy adjustment.
Step 5: Alignment & Squeegee
Adjust the decal into its final position. Starting from the center, squeegee
outward using firm, even strokes to remove all water and air bubbles.
Step 6: Remove Transfer Tape
Allow the decal to set for 10–15 minutes. Slowly peel the transfer tape back
at a sharp angle (180°). If vinyl lifts, press it back down and squeegee again.
Step 7: Final Trimming
If the decal crosses door seams, panel gaps, or edges, carefully trim using
a sharp blade. Press edges firmly to ensure proper adhesion.
Step 8: Curing Time
Do not wash the vehicle for 24-48 hours. Avoid pressure washing, extreme heat,
or high speed driving during the curing period.
Important Installation Tips
- Ideal installation temperature: 15°C-30°C (60°F-85°F)
- Avoid installation in direct sunlight or on hot panels
- Take your time proper alignment ensures the best finish
🔒 Payment and Security
Your payment information is processed securely. We do not store credit card details nor have access to your credit card information.